Active Greenscreen
When the world went remote in 2020, I'd already been working from home for years. Video calls weren't new to me. What was new was that suddenly everybody was on one.
Overnight, every person I knew bought a webcam and started showing up as a small rectangle in a grid of small rectangles. Same laptop lens, same overhead lighting, same bookshelf. I looked at that and thought: I don't want to look like everybody else.
I have a background in visual effects, so my instinct wasn't to go buy a better webcam. It was to go dig up a memory.
In the early 2000s I went to NAB most years — the big broadcast and media technology show. Somewhere on that floor, in a year I can't pin down, I walked past a demo booth I've never been able to name since.
It was a camera pointed at a sheet of grey fabric. Unremarkable fabric. The kind of thing you'd walk past without a second look, which I suspect was the point of putting it on a trade show floor at all.
Then they switched on a ring of LEDs mounted around the lens, and the fabric lit up like a screen.
I didn't know the product, the company, or the price. I just knew the shape of the trick, and it stuck with me for close to two decades before I had a reason to go back and figure out how it worked.
The material isn't painted or dyed green. It's grey, and it stays grey. What makes it work is geometry.
It's retro-reflective fabric — the 3M-made textile that's in road signs, safety vests and bike reflectors. Embedded in the surface are millions of microscopic glass beads. Light that hits one of those beads doesn't scatter back out across the whole room the way it would off a matte wall. It goes back the way it came, toward whatever sent it.
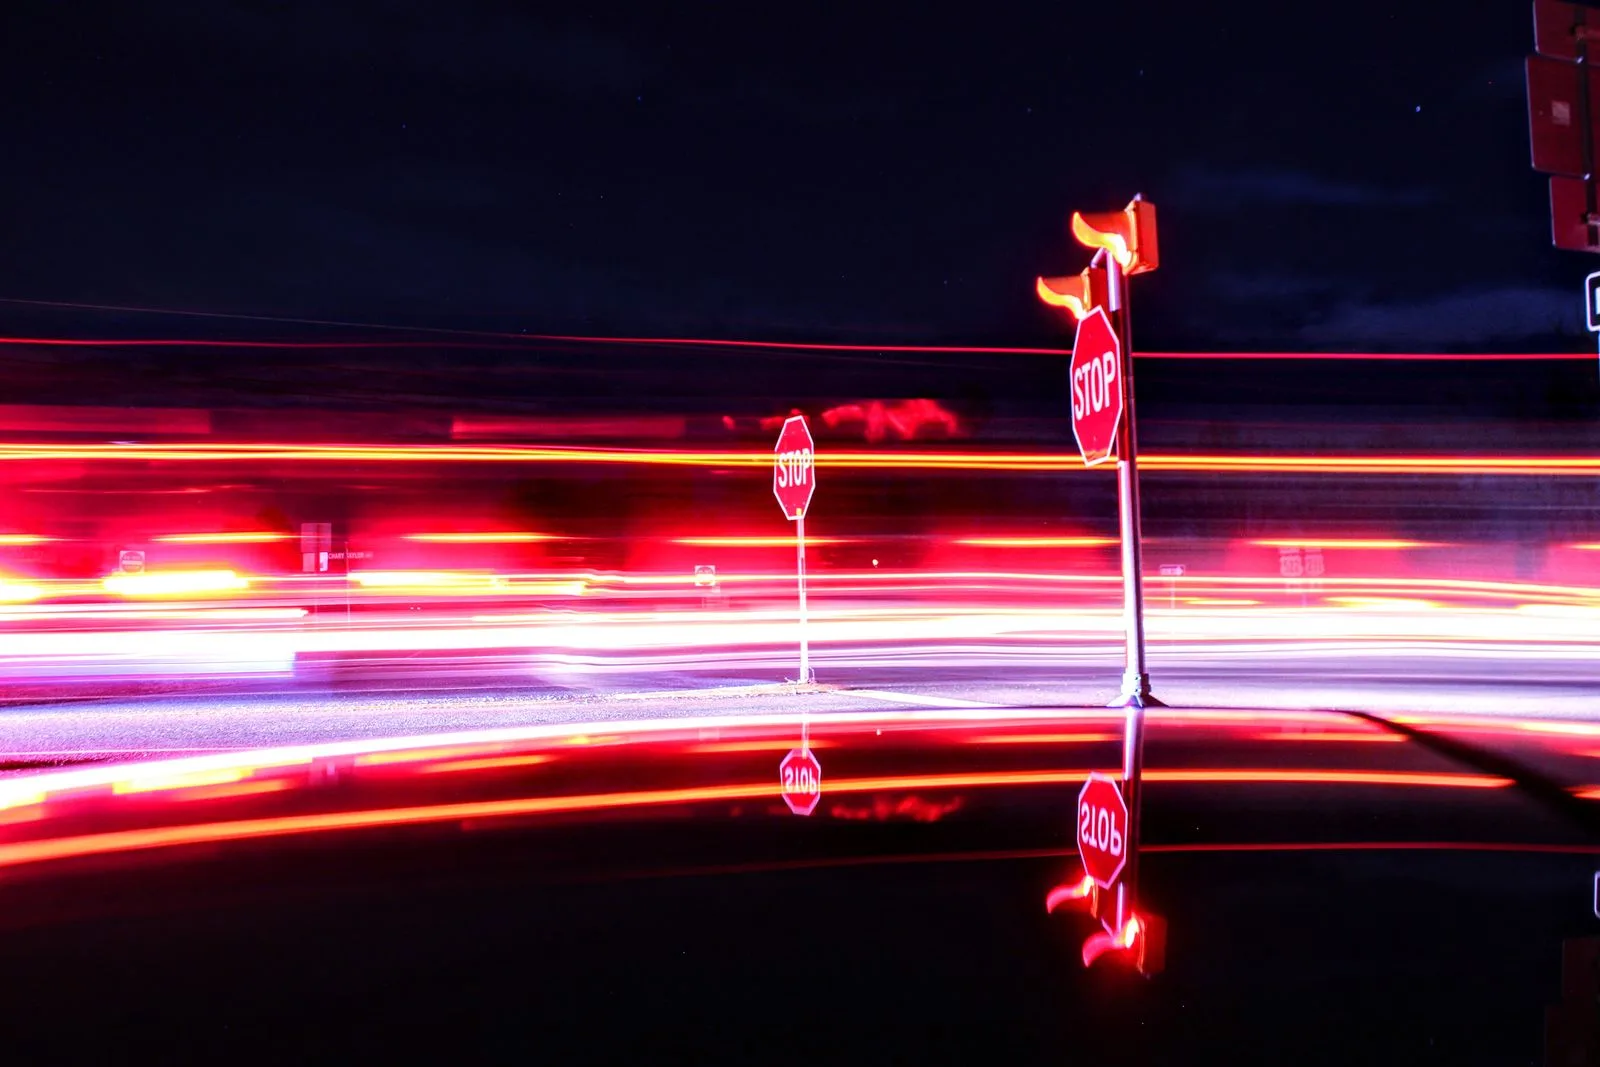
You already know what this looks like. It's why a road sign detonates in your headlights at night and looks like a dull grey rectangle to the person standing on the sidewalk ten feet to your left. The sign isn't glowing. It's aiming — and it's aiming at the driver, because the driver is sitting almost exactly where the headlights are.
Put a ring of LEDs as close to parallel with the lens as you can physically get it, aim it at that fabric, and the fabric lights up brilliantly and evenly — but only for the camera. To everyone else in the room it's still a grey sheet. The light is being handed back along the exact axis it arrived on, and the lens is the only thing sitting on that axis.
And because it's light rather than pigment, the colour is a variable. Green, blue, or whatever else happens to key cleanest against what someone's wearing that day.

This is the part that's hard to describe and easy to show, so here it is. Slide the LED ring off the lens axis and watch what happens to the light coming back.
One honest exaggeration: real 3M sheeting accepts an observation angle of roughly a degree. Drawn to scale that cone would be a hairline, so it’s opened up to about seven degrees here. The falloff maths uses the same widened angle the picture shows, so the diagram never contradicts itself — it’s just gentler than the real material, which dies faster than this.
Locked down at home, with a studio I'd just finished building and — for once — the time to spend on it, I decided to find out whether I could make one.
The fabric took the longest to run down. Retro-reflective textile isn't something you add to a cart; I ended up sourcing the material and having a nine-by-ten-foot panel sewn together.
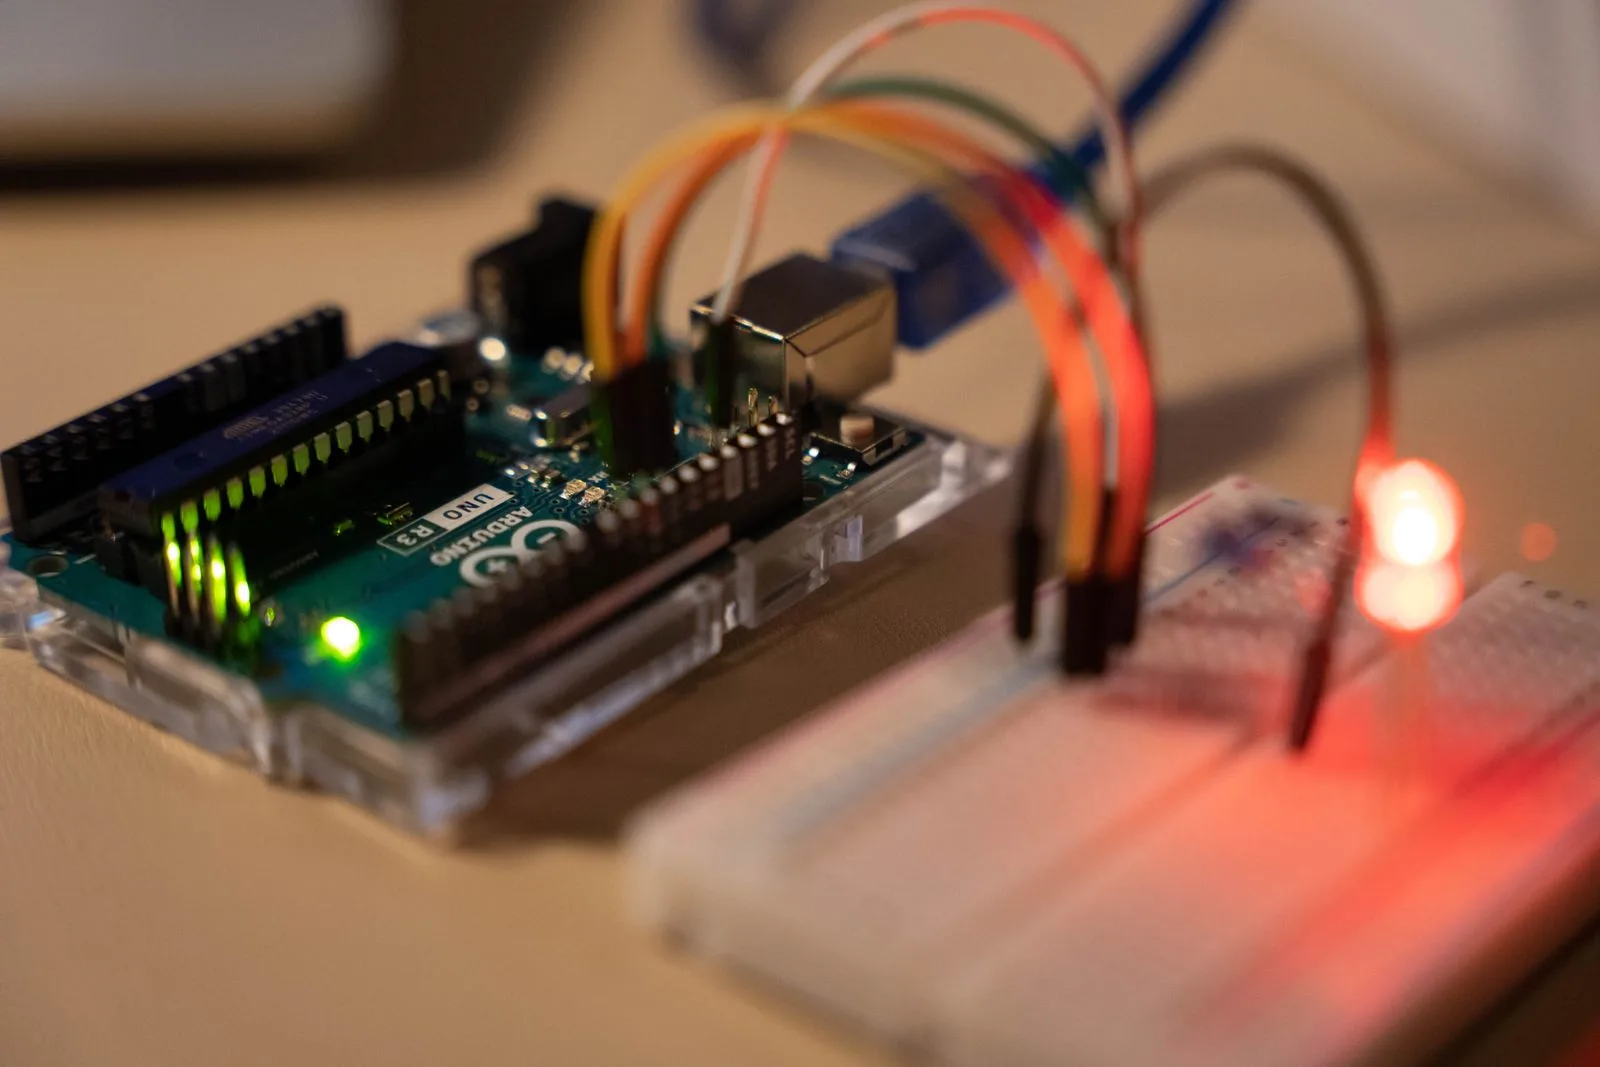
The lighting side I was already most of the way to. I'd been deep in WLED projects elsewhere in the studio, so the vocabulary was familiar: a ring of addressable LEDs, a Wemos D1 Mini to drive them, and a 3D-modelled mount I could print and clamp onto the camera rails so the ring sat around the lens rather than near it. That distinction turns out to matter more than anything else in the build.
Then a small amount of code, and a control box with about as many features as it needs: on, off, blue, green, and a dial for brightness.
The build wasn't even finished when I found out it was going to work.
I had the bare LED ring in my hand, not yet mounted to anything. I held it up to my eye, looked through the middle of it, and switched it on with the light facing away from me toward the fabric.
The entire wall lit up.
Then I moved the ring about a foot to the side, kept my eye where it was, and the effect was simply gone. Not dimmer. Gone.
That's the whole physics lesson in one gesture, performed with two hands in a dark room before a single part was bolted down. Everything after that was assembly.
I've spent enough time on traditional green screen stages to walk in expecting a specific problem: distance.
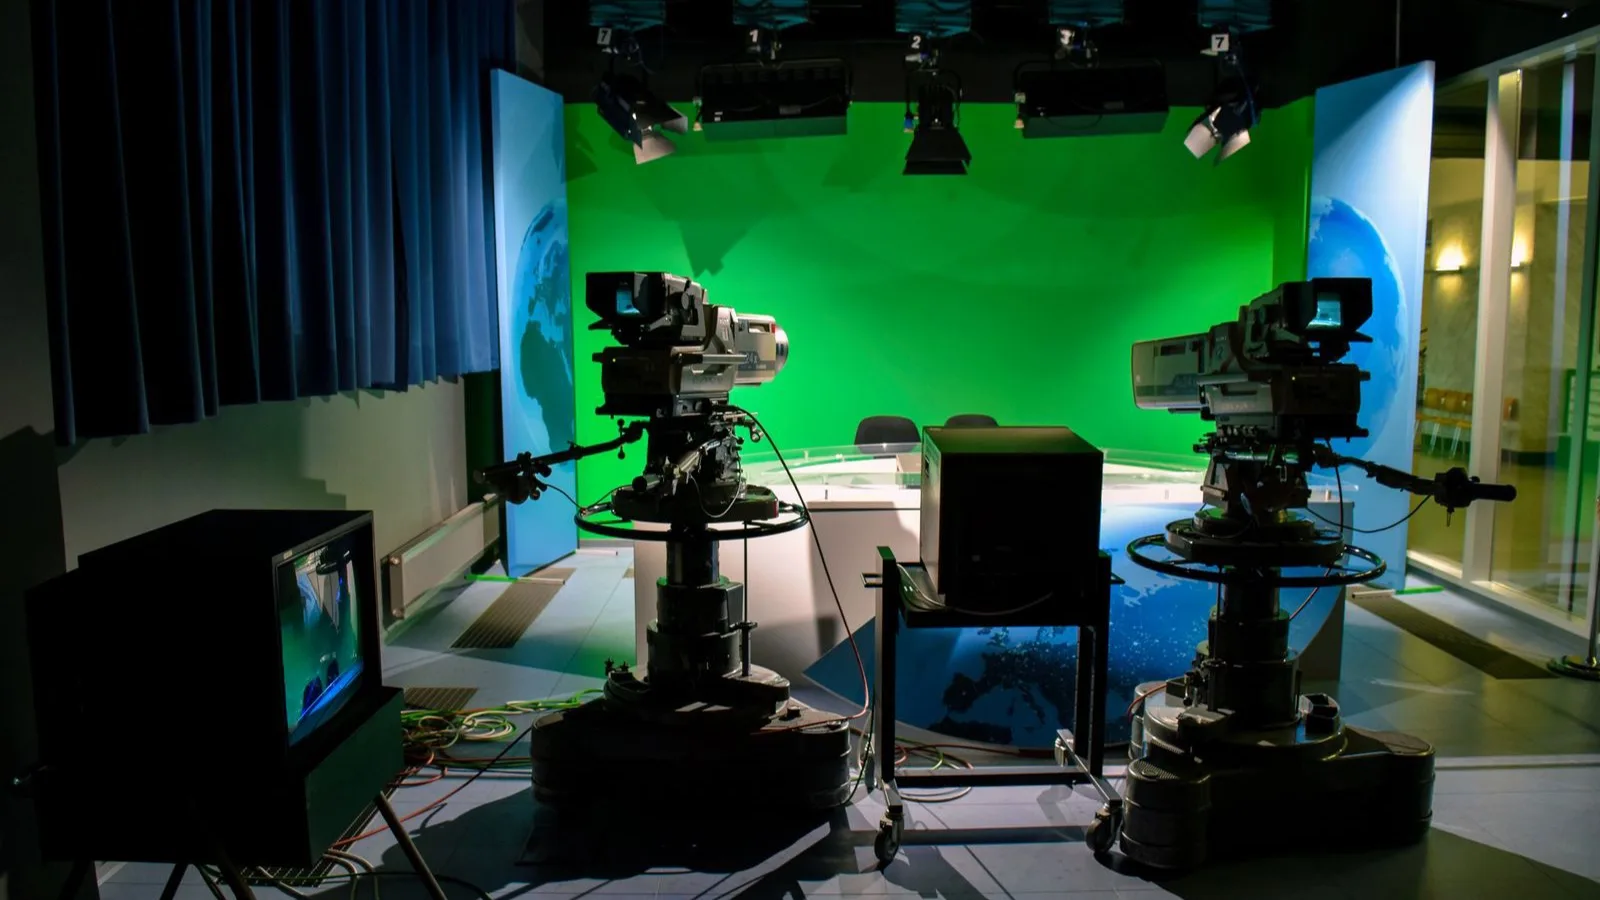
On a normal stage you need room. The screen has to be lit separately and evenly, and the talent has to stand well clear of it, because standing close throws a shadow onto the screen and a shadow is the one thing a keyer can't forgive. That's why proper stages are enormous, and it's why green screen mostly doesn't work in a spare bedroom.
This setup inverts that, and it took me a while to stop being suspicious of it. The closer I stood to the fabric, the cleaner the key got.
Two things are going on. The obvious one is brightness — halve the distance and the fabric is getting dramatically more light, so the return is stronger and the keyer has more to work with.
The better one is the shadow. My light source is sitting on the lens axis. So is my shadow. Whatever shadow I cast onto that fabric falls exactly and entirely behind me, hidden from the camera by my own body — because the camera and the light are looking down the same line. There is no angle for it to peek out from. The single constraint that makes traditional green screens need a warehouse just doesn't apply, which is convenient, because a warehouse is precisely what nobody has behind their desk.
The other pleasant surprise: modern cameras auto-white-balance the cast away. On screen the picture looks completely normal — no green wash, no colour spill on my face. Pull a key on the same footage and it's remarkably clean.
In practice the active green screen turned out to be more conversation piece than career milestone.
And the conversation was rarely about the background. What people actually reacted to on calls was that I was shooting through a real DSLR instead of a webcam — the sharper image, the actual optical depth of field, the fact that I looked like a shot instead of a video call. That's what got the questions. The invisible screen behind me was a footnote.
It made a reliable party trick, though. Switch the key off mid-call and reveal the cluttered home office that had been sitting there the entire time behind what everyone had assumed was a tidy backdrop.
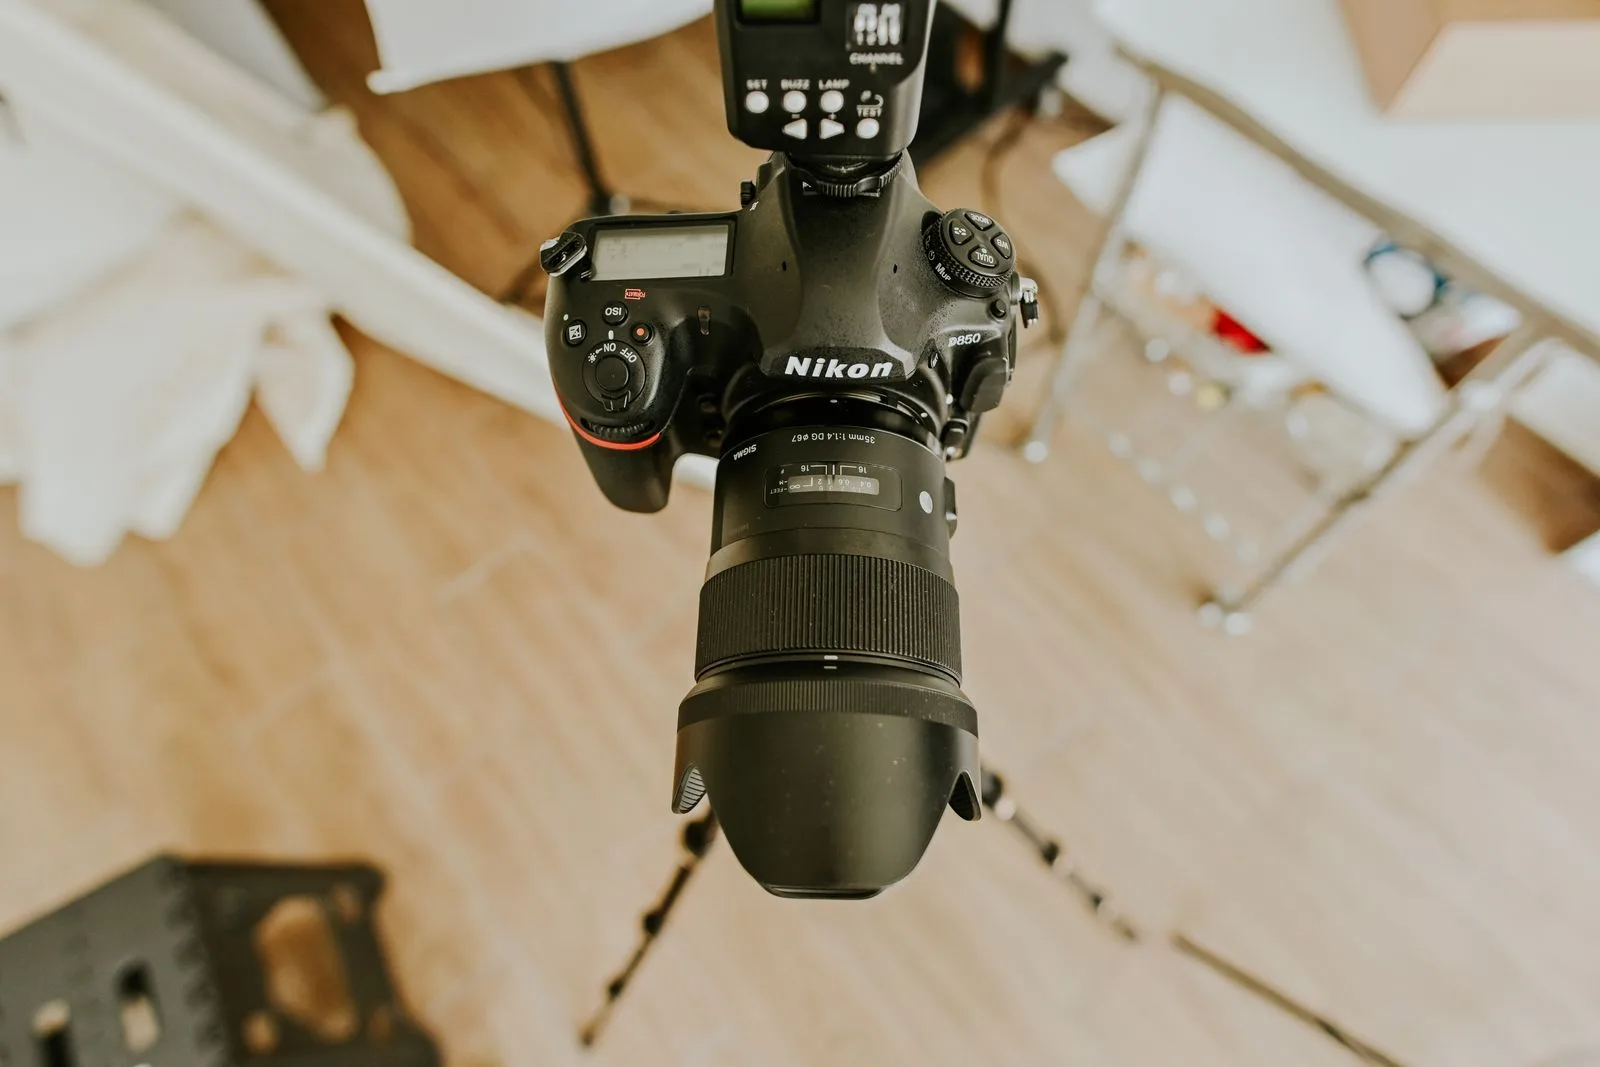
I'm under no illusion that I invented any of this. It was a commercial product on a trade show floor before I had any business trying to replicate it, and it's still sold today by people who do it better than my sewn panel and printed bracket do.
That was never the point. The point was sourcing an obscure material with no obvious supplier, learning enough electronics to drive and program the lighting, and building a working rig out of a memory that was nearly twenty years old and missing every useful detail — including the name of the thing I was trying to rebuild.
That's the pattern behind most of what's on this site. The recurring question is whether I can actually pull something off, and the payoff is finding out that I can.
The rig still lives in the studio, alongside the animation, motion capture and 3D work that happens in there. One more tool built rather than bought, and one more thing I no longer have to go shopping for.