Таксофон
A Soviet payphone out of Kazakhstan, rebuilt to take quarters and play you a recording when you dial the right number, so it can hang on the wall of a bar and raise money for charity.
- The phone
- AMT-69, steel and enamel, rotary dial
- Takes
- US quarters. It was built for kopecks.
- Brain
- Raspberry Pi Zero, about forty lines of Python
- Status
- Active build
My brother got gifted a payphone.
He owns a bar, and he wanted to turn it into some interactive amusement he could hang up there. Just something unique and interesting, with the proceeds going to a local charity.
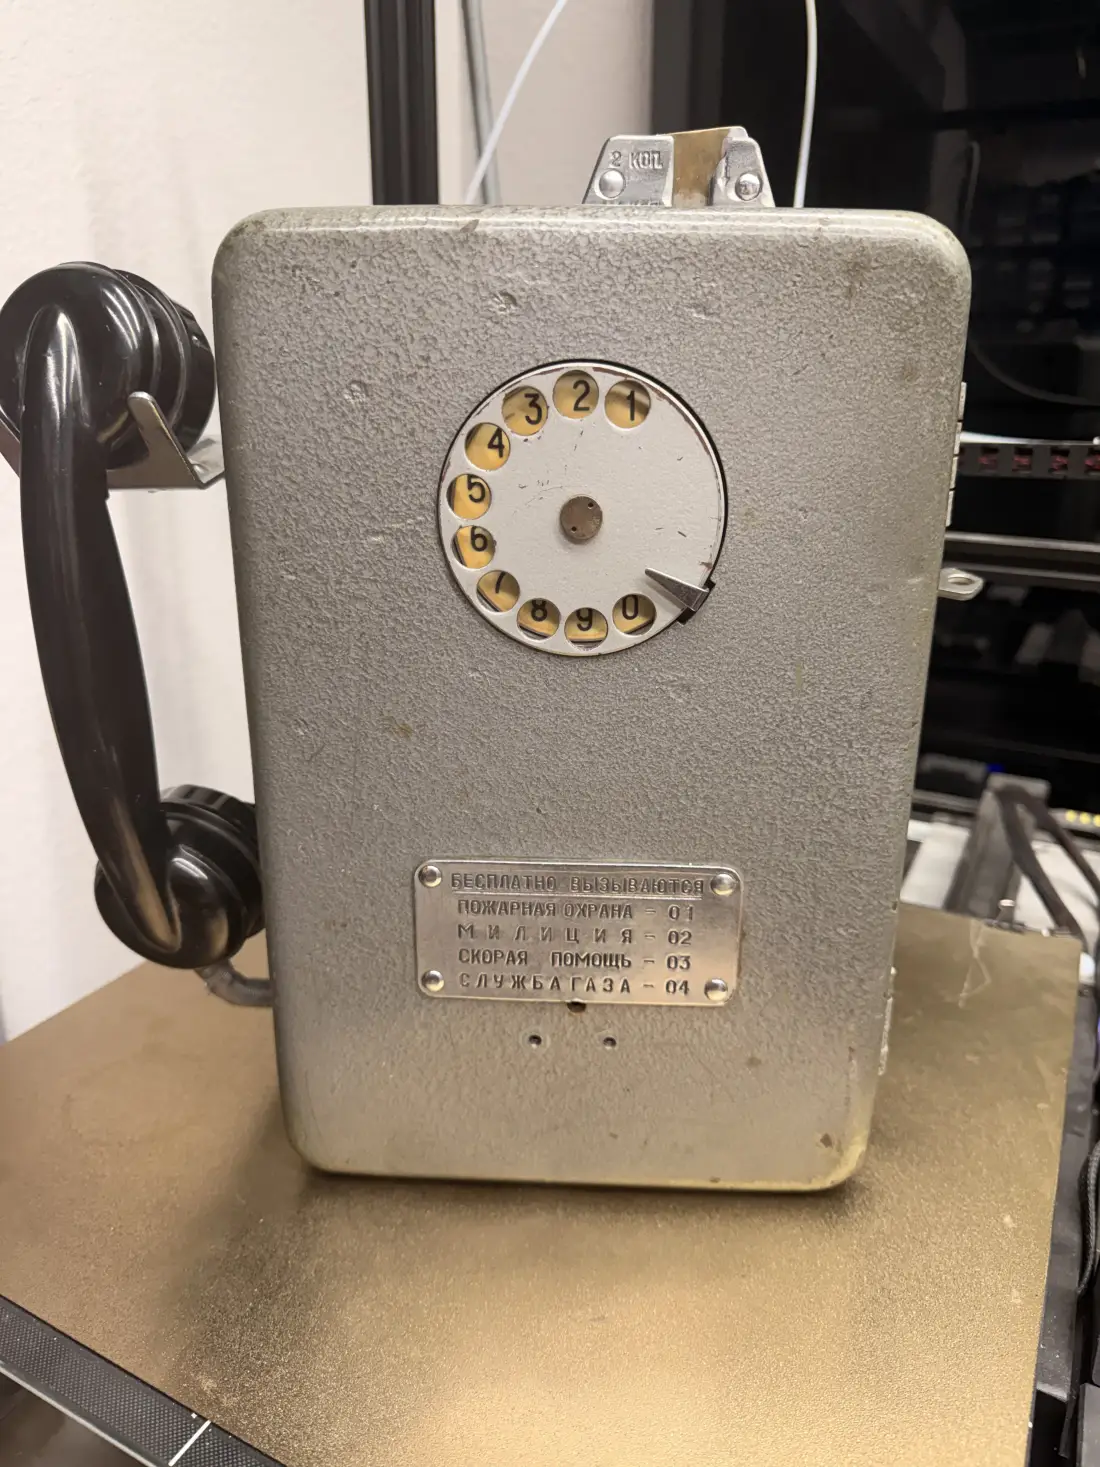
What makes it unique is that it’s a Soviet model payphone out of Kazakhstan, brought over by a friend of his who used to live there. Steel body, enamel finish, rotary dial. Everything you’d imagine an early 70s Soviet payphone would look like.
He asked me how hard it would be to fix it up and convert it into something cool. Put some electronics inside, make it a curiosity. Put a coin in, dial a number, hear something interesting.
The wrong problem
The coin mechanism was the main problem, and I spent the first few days working on the wrong one.
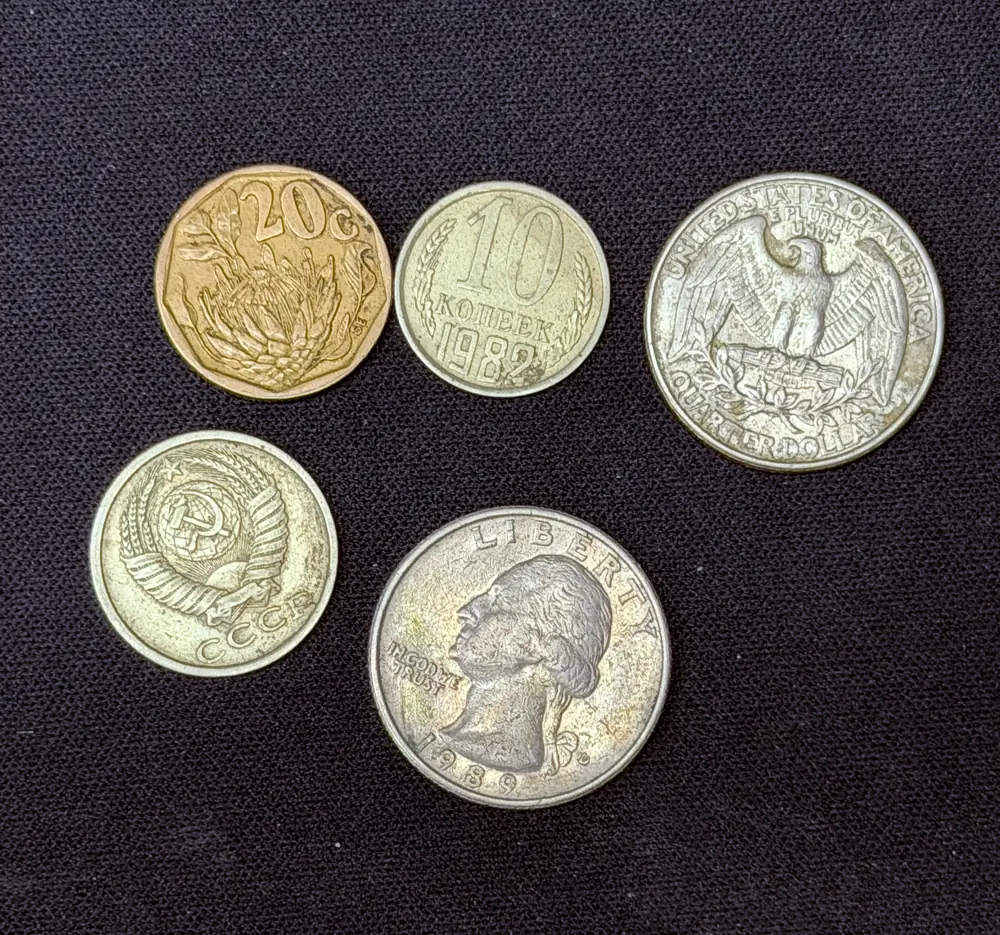
The phone was built for kopecks. We wanted it to take quarters, which are bigger. My first instinct was to modify the existing mechanism to accept the larger coin, so I started sketching metal parts and figuring out which original components I could shim or alter without destroying them.
After a few days I realized I was asking the wrong question.
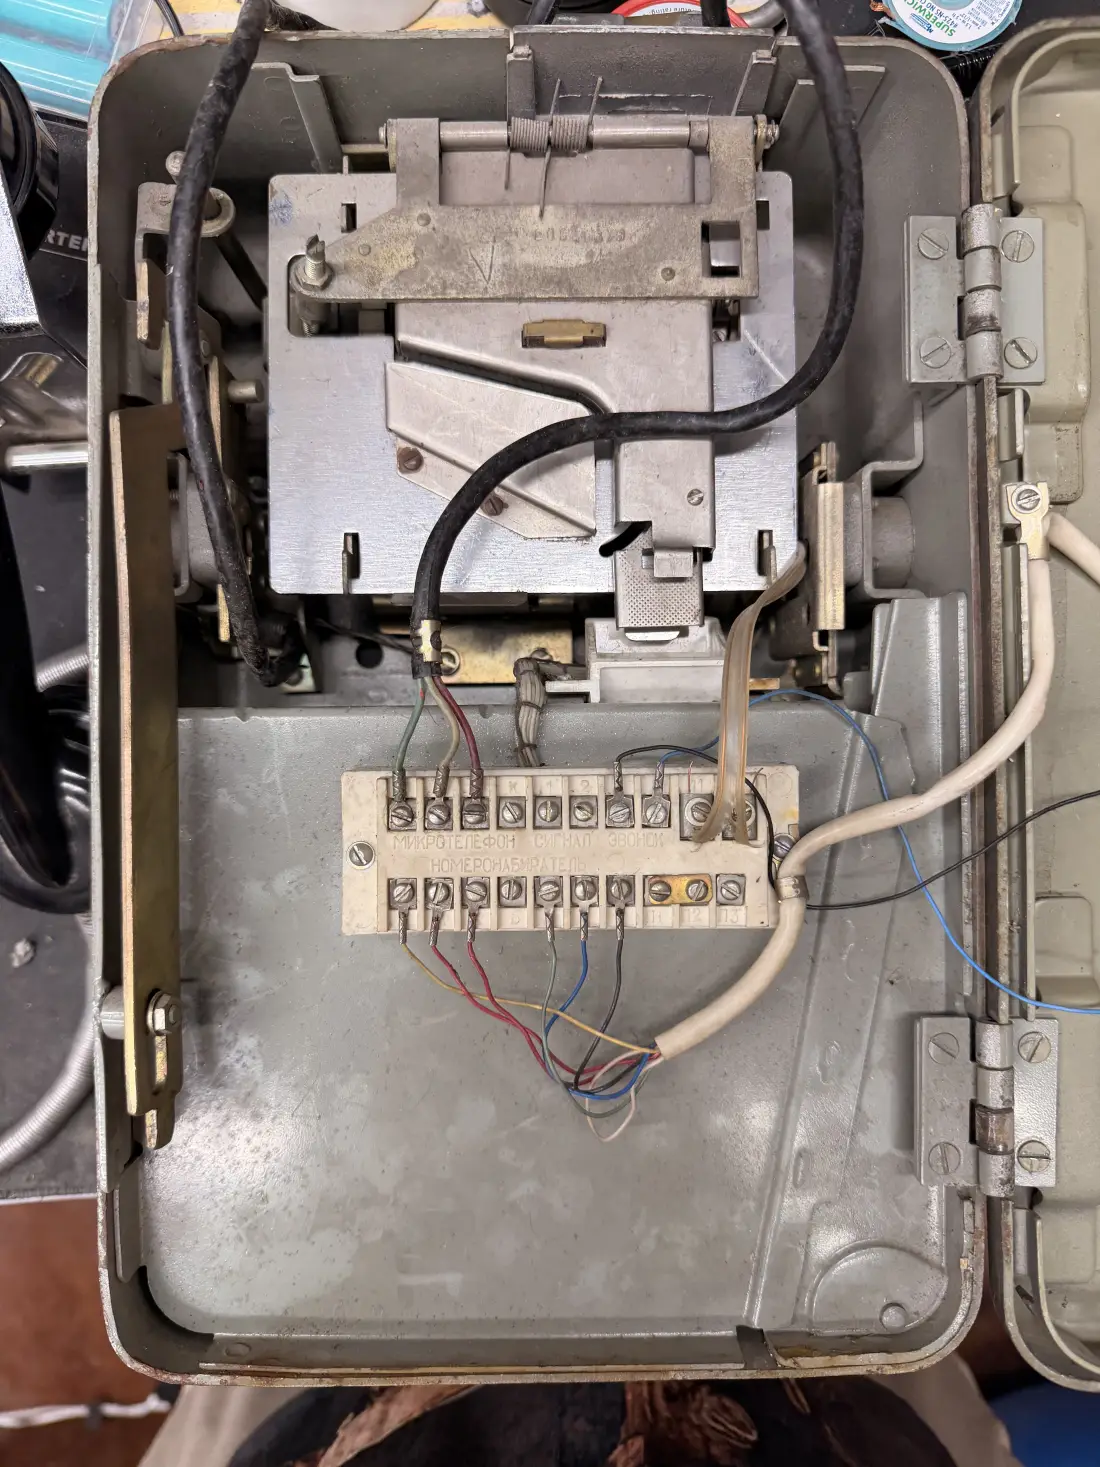
The original mechanism exists to satisfy an electromechanical telephone exchange. It handled billing and signaling to a central office. That infrastructure is gone, so none of that matters anymore. Strip it all away and the phone only has to report three things.
A coin went in. The handset is up or down. And the numbers being dialed.
Once I looked at it from that angle, it stopped being a restoration problem. I wasn’t modifying the old mechanism. I was building a new one with a much simpler job.
Six tries
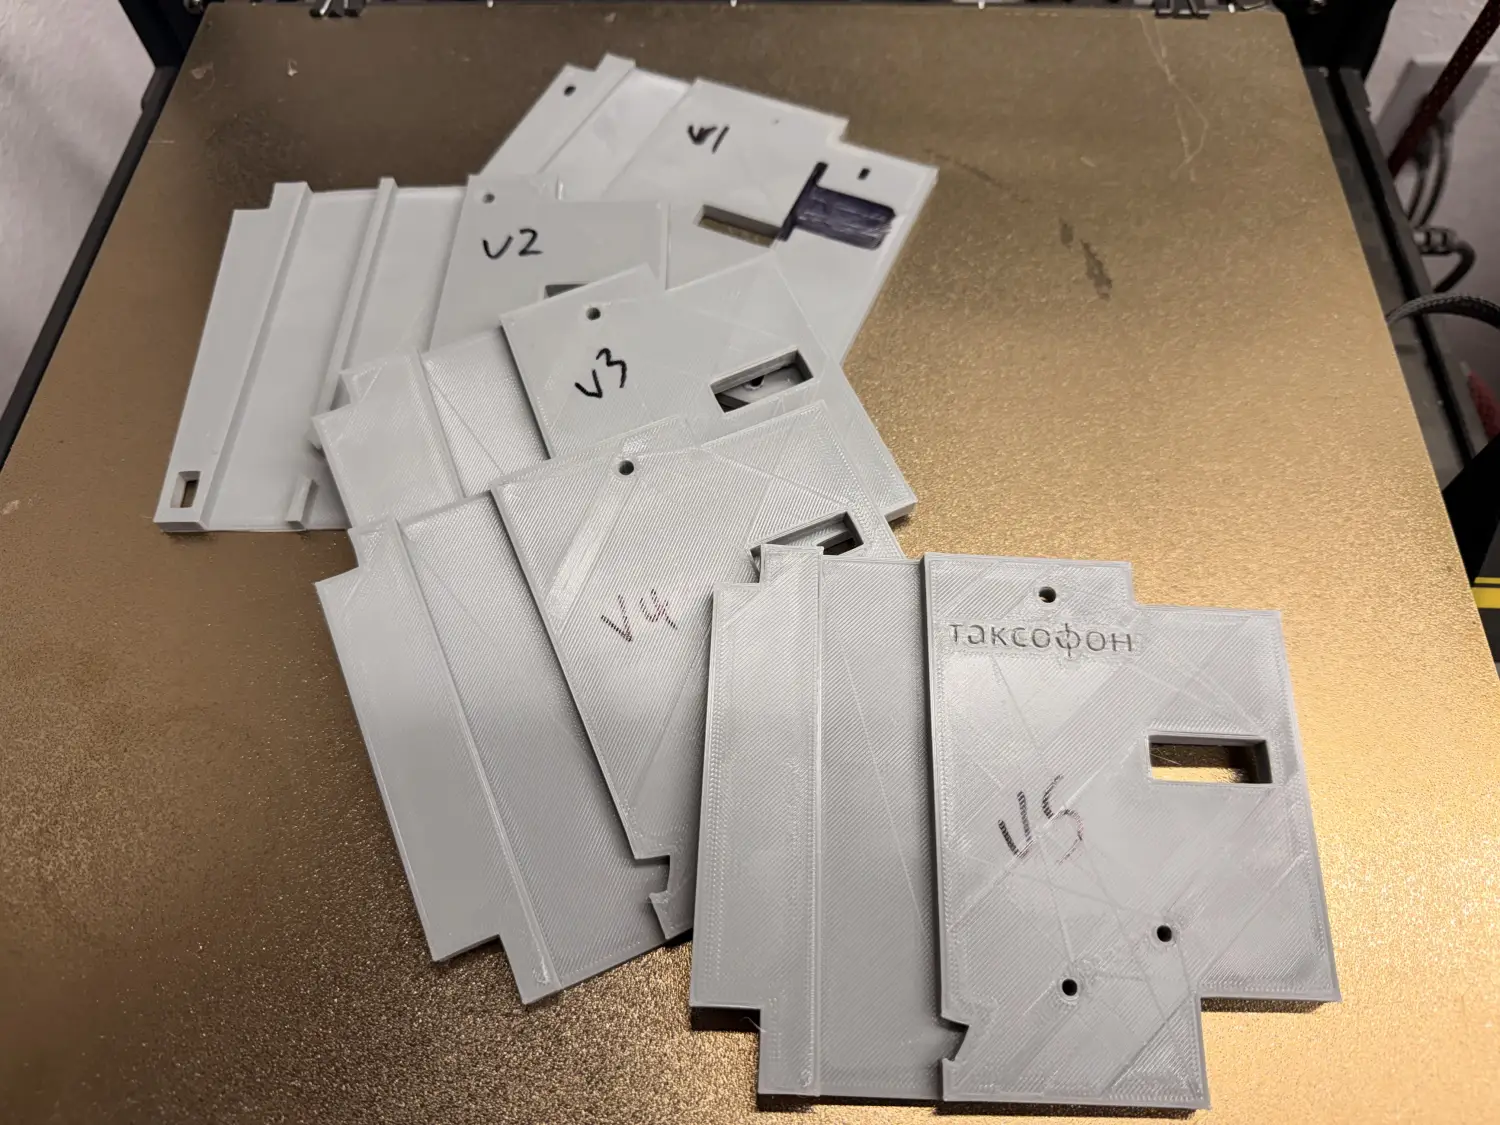
It took six printed versions before the coin path worked.
The hard part is measurement. You put calipers on a sixty-year-old steel casting, move the numbers into 3D modeling software, and then have to hold a fraction of a millimeter on a part that drops into a space you can’t redesign. Every version was close. Close wasn’t good enough. A coin either falls through cleanly or it jams up the phone.
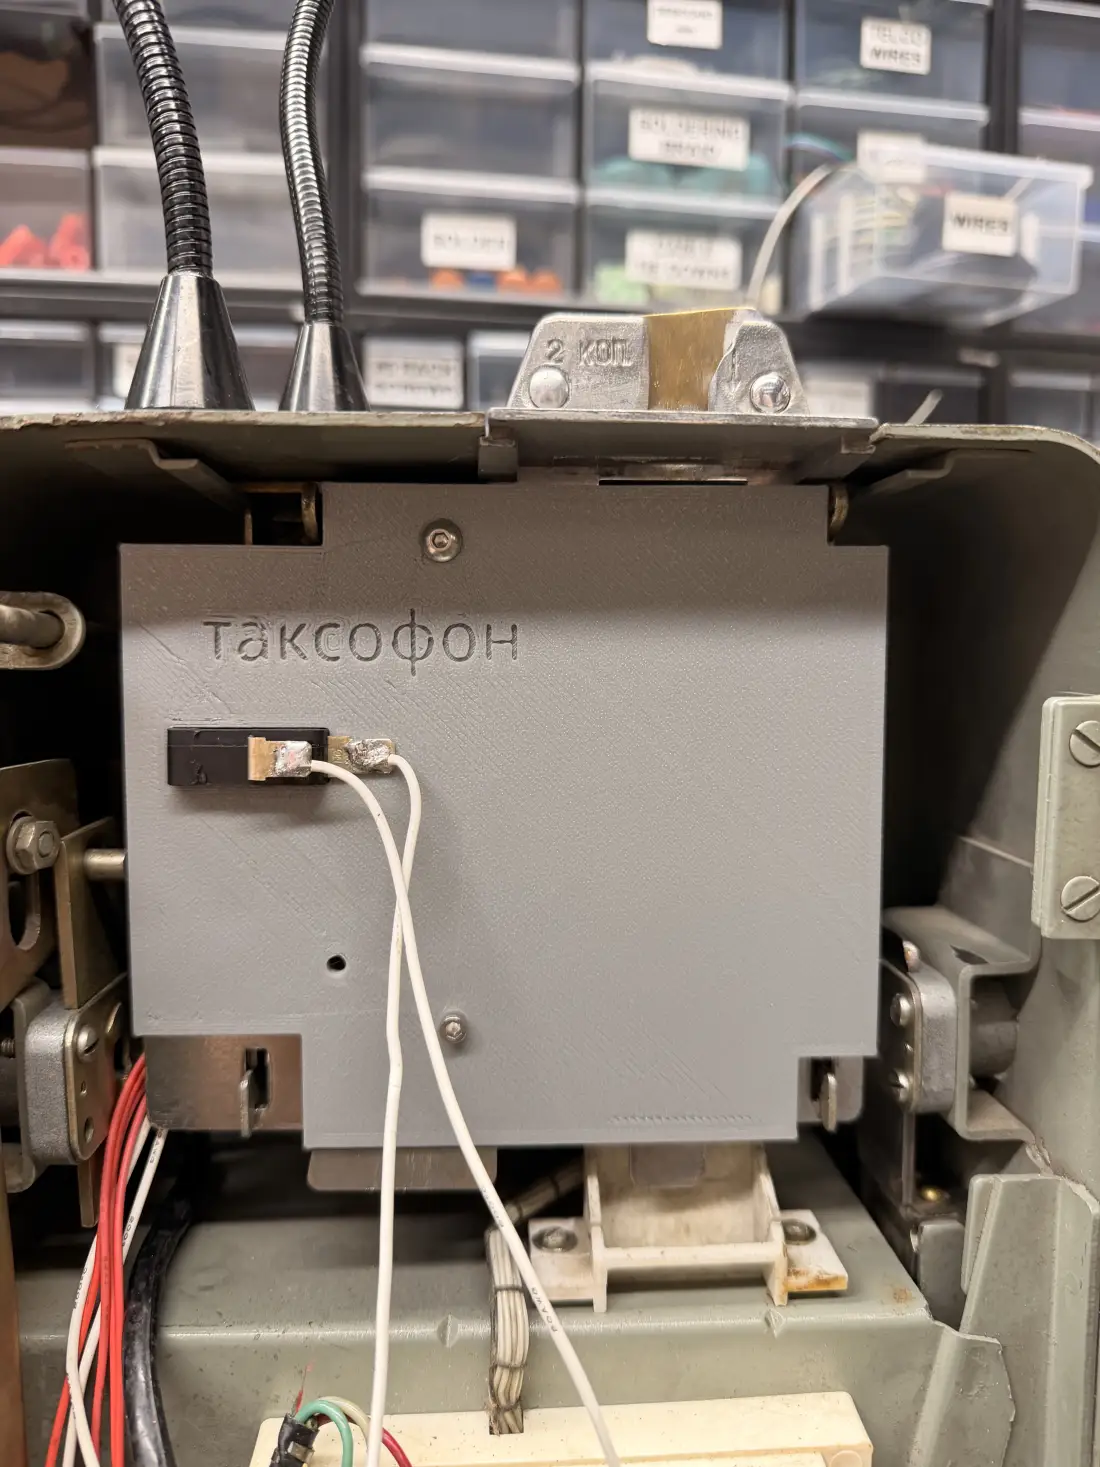
So: measure, print, doesn’t fit. Measure again, find where I was half a millimeter off, print again, doesn’t fit for a different reason. The sixth one worked. Coin in, coin through, switch clicks, coin lands in the bucket. I stood there feeding the same quarter through over and over just to watch it happen.
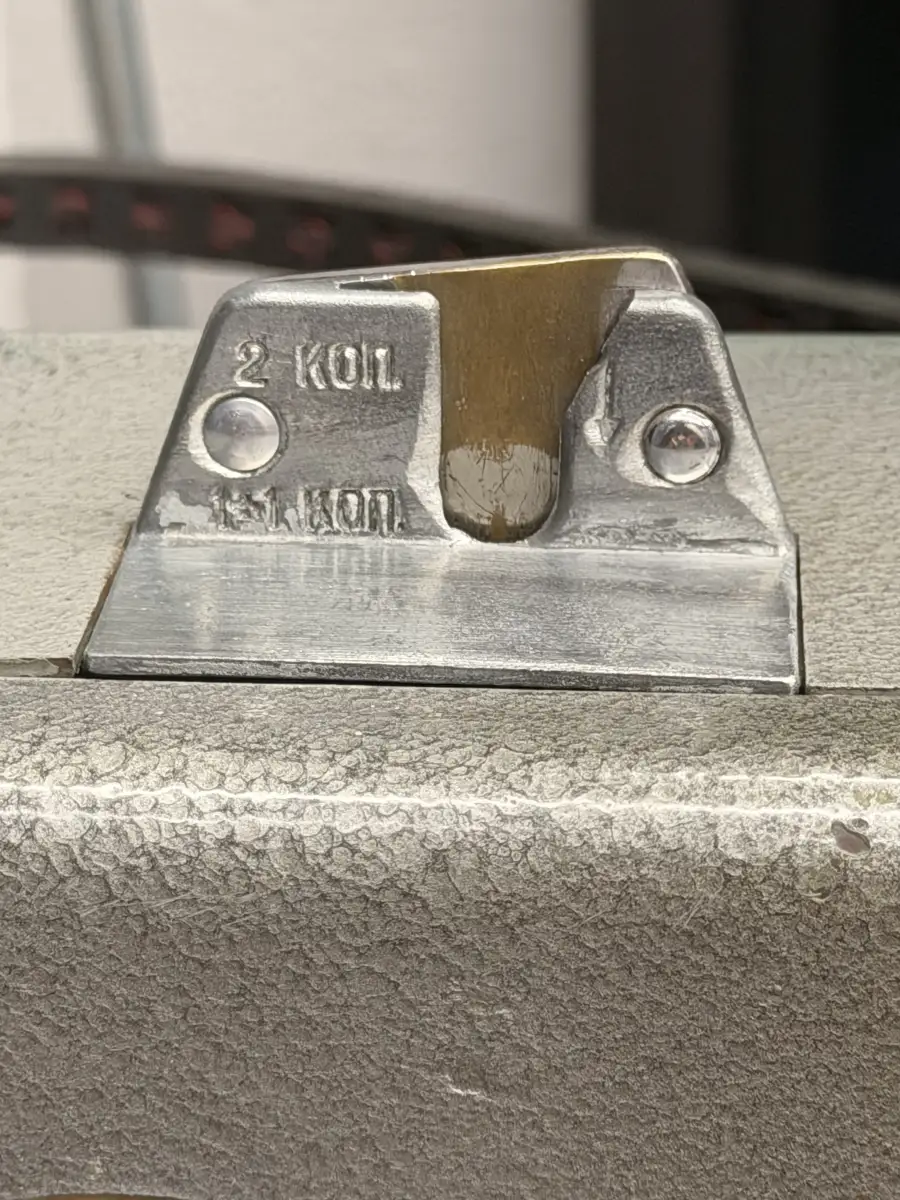
Then the coin had to actually get into the phone. The slot on the front is cut for a kopeck, and a quarter won’t physically fit. That turned out to be more precarious than I’d imagined, because there was only one of that part and it’s on the outside. Print a new one and the phone looks inauthentic.
So I filed it.
There’s now a hand-filed slot on the front of a Soviet payphone. Call it vandalism or call it restoration, but nobody was going to feed it kopecks at a bar in Saint Paul.
Teaching a Pi to read a rotary dial
With the physical work out of the way, I got to what I knew would be my favorite part of the build: turning an analog rotary dial into something a Raspberry Pi can read.
A rotary dial has no electronics in it. None. It’s all mechanical, so there’s nothing to plug into.
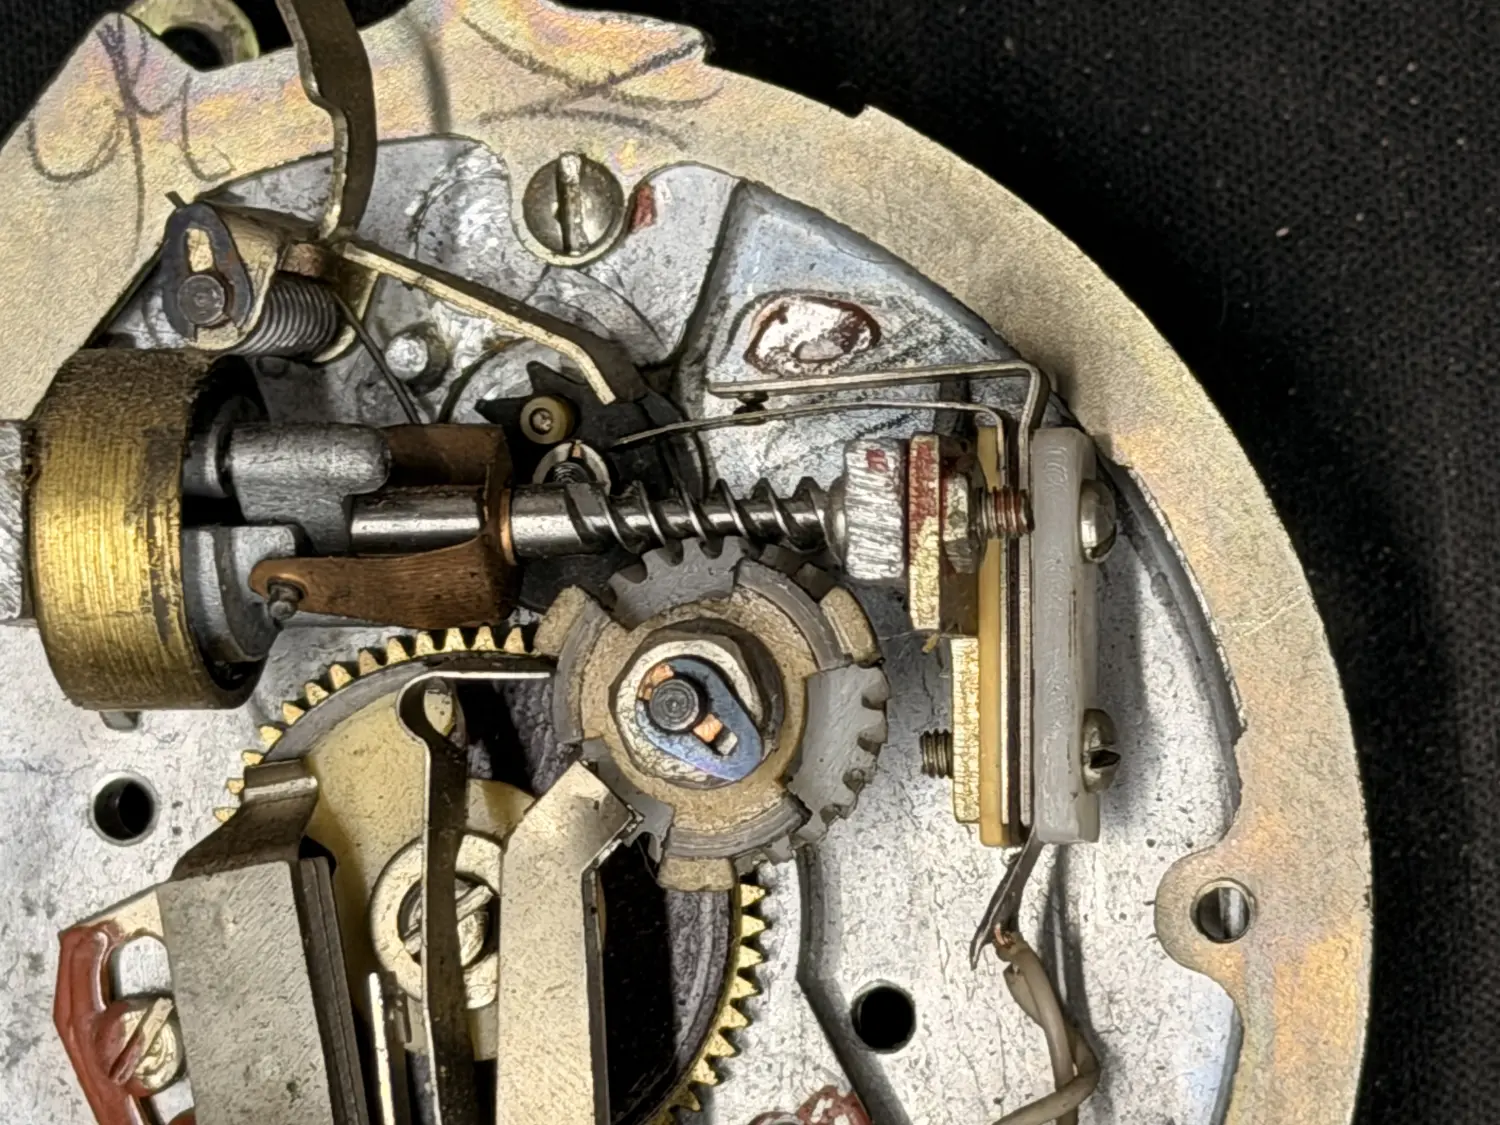
What it has is a spring and a cam. You pull the finger hole around to a number and let go. The spring drags the dial back, and on the way back a cam taps a switch open and shut once per number. Dial a 3 and the switch clicks three times. Dial a 7, seven clicks. Dial 0 and it clicks ten times, which is why 0 sits at the end of the dial instead of the start.
So the Pi just counts pulses on a wire. The dial switch goes to a GPIO pin, the Pi holds that line high, and every time the switch breaks the connection an interrupt fires, bumps a counter and notes the time.
Two little details make that reliable. First, a mechanical switch chatters for a few milliseconds on every click, so a naive counter hears one click as several. Anything within 5 ms of the last click gets ignored.
The second one is the fun one. The Pi has no idea when a digit ends. The pulses in a 7 are identical to the pulses in a 3 followed by a 4. Same wire, same switch, same seven clicks. The only difference is timing. Inside a digit the clicks come about ten a second, because that’s how fast the spring returns the dial. Between digits there’s a pause while your finger goes back for the next one. So the rule is: once 250 ms goes by with no new clicks, whatever’s been counted is the digit.
Try it yourself.
Seven pulses is a 7. Ten or more is a 0. Digits stack up in a buffer, and once there are enough of them the code compares them against the numbers it knows. A match plays the recording. A miss plays an error tone and starts over.
The other two wires are easier. One is the hook switch, up or down, nothing to count. The other is the coin switch, where one click is one quarter.
And that’s the whole thing. Count pulses, and use a pause to decide where one digit ends and the next begins. It’s the same logic a telephone exchange ran in 1950, except that took a room full of relays and this is about forty lines of Python.
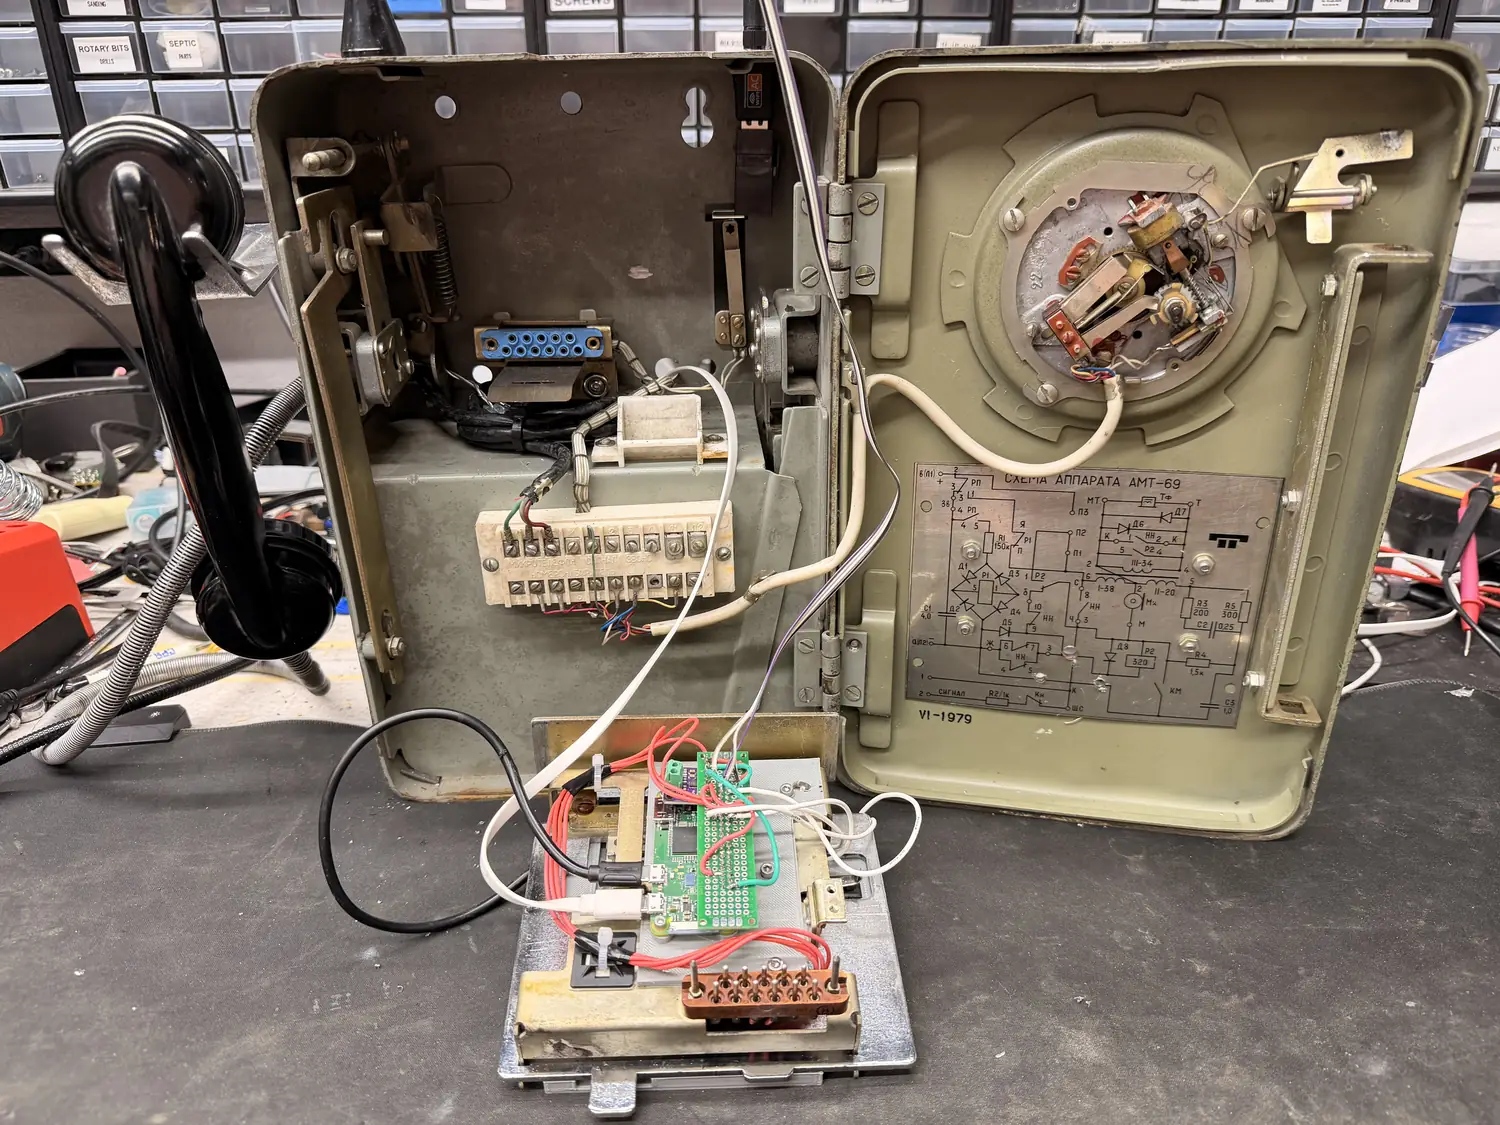
The brain
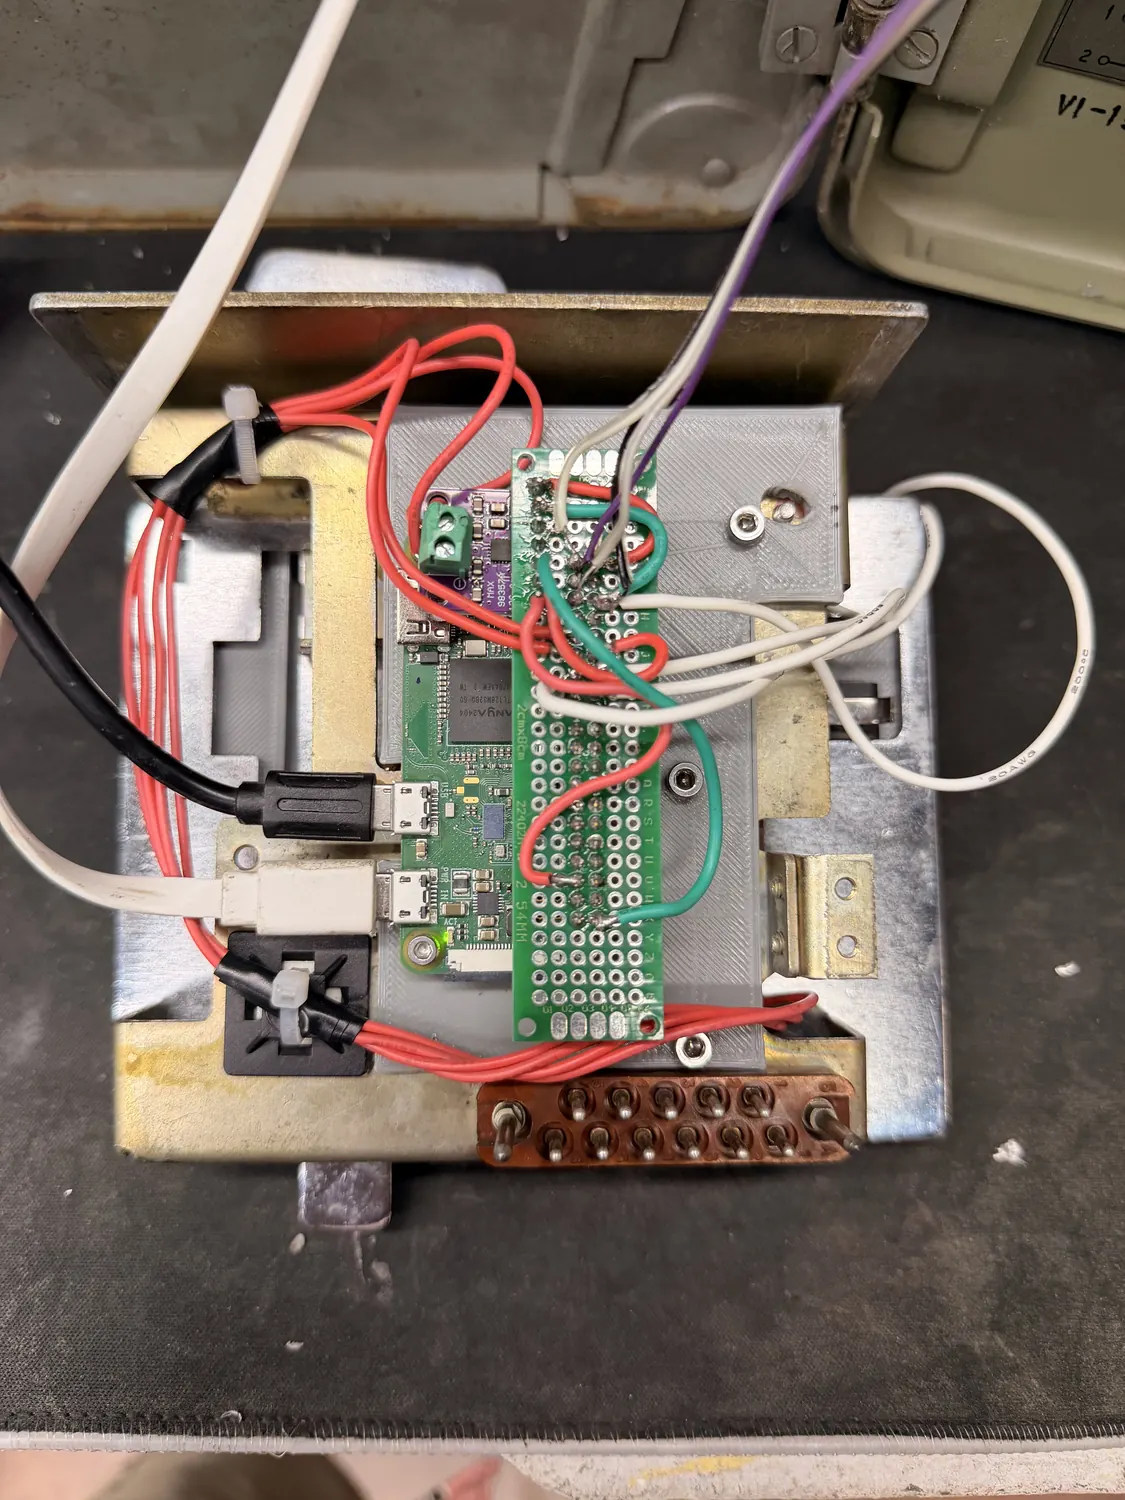
It’s a Raspberry Pi Zero, on a mounting plate I printed to fit the cavity the original electronics left behind.
Sound goes out through a MAX98357, a little I2S amplifier, and into the original handset earpiece. That choice matters more than it sounds like it should. The voice comes through a 1969 receiver, with every bandwidth limit and bit of coloration that implies. A clean modern speaker would’ve been easier to install and would’ve sounded worse. That narrow, boxy handset sound is the effect.
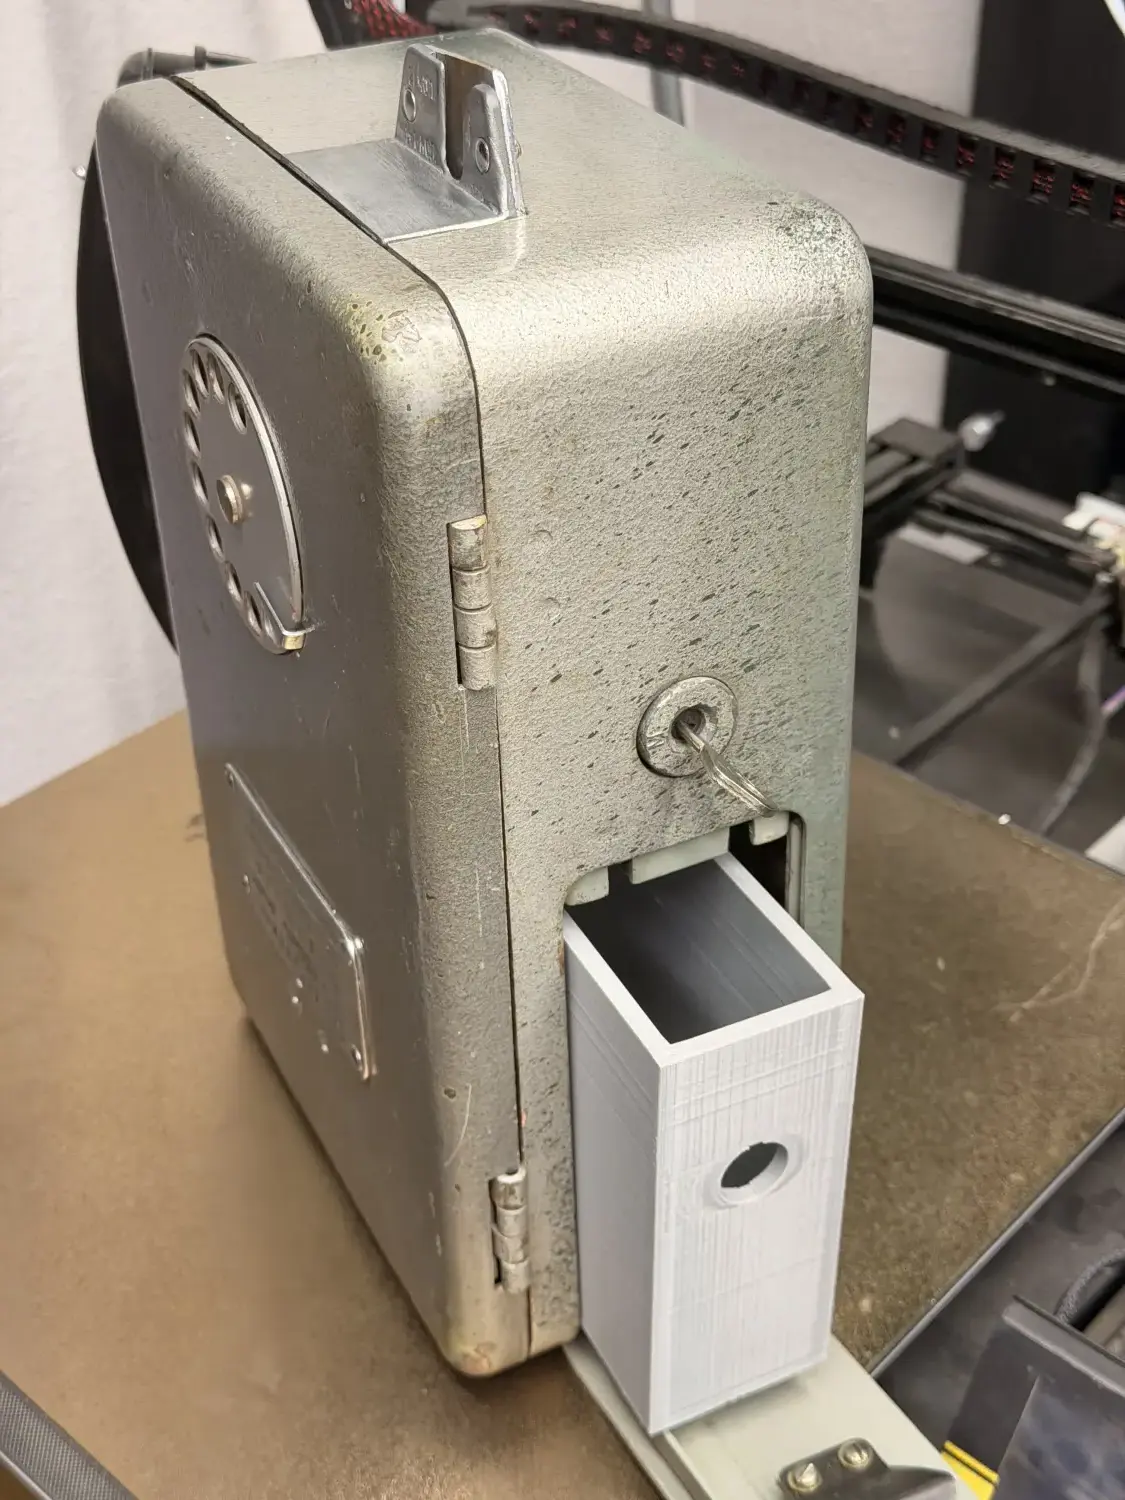
I printed a coin bucket too, since the coins have to land somewhere.
What it does
You pick up the handset, put in a quarter, and dial a number. Someone talks to you.
The recordings are messages from celebrities and notable people, each one behind a number you have to know, guess, or hear about from someone else at the bar. The only interface is the dial and word of mouth.
The money goes to a local charity. Which is why the coin mechanism had to actually work, instead of just clicking convincingly.
The idea I can’t put down
Letting people leave messages. Dial a number, hear a tone, record something, and it sits there for whoever dials that number next.
That’s a very different machine from the one I’m building. It turns a jukebox into a place where strangers talk to each other across time, unsupervised, in a bar. It might be the best idea I’ve had this year, or a moderation problem with a rotary dial attached.
Probably both. I’m not deciding until the first version is on the wall and I’ve watched people use it.
Next
Finish the wiring and chase down a few mechanical issues so the dial is solid and reliable.
Then it ships from my workshop in Texas back up to Minnesota, and goes on the wall at the bar.